How I Made Biochar in a Bathtub

I finally found a use for the old bathtub that someone left years ago in the back pasture. It is typical country sight to see old discarded items sitting out in a field that someone long ago did not want to haul off to the dump.
I had played around with a few ideas on what to do with the tub. Maybe it could be a water trough for the sheep? Maybe it could be a pond? Use it to make an outdoor bath?
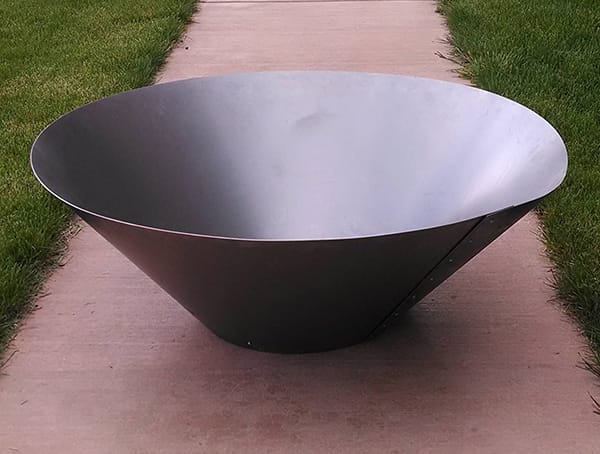
One day I was researching different ways to make biochar and I came across something called a cone kiln. Which sounds like a simple enough thing. It is just a metal cone that you build a fire in. Problem is making something like that is tricky and beyond most people's skill set, including my own. And purchasing one is not cheap either.
I realized that the bathtub that was sitting in my back pasture could do essentially the same job and I wouldn't have to make or modify anything. The best part is that it is free!
What is biochar?
Biochar is a type of charcoal that is produced by pyrolysis, or the thermal decomposition of organic matter in the absence of oxygen. It has several unique properties that make it useful for a multitude of things.
How is biochar made?
Wood burns in multiple stages. If the combustion process is starved of oxygen the wood is not completely burned and what is left over is biochar.
The cone works because fresh air is only able to reach the top layer. As the wood burns it breaks down and falls to the bottom of the cone where it is starved of oxygen and pyrolysis sets in. After the the flames die down pyrolysis is complete and you have a bed of red hot coals. The coals are then dowsed with water.
Enter Bathtub Biochar
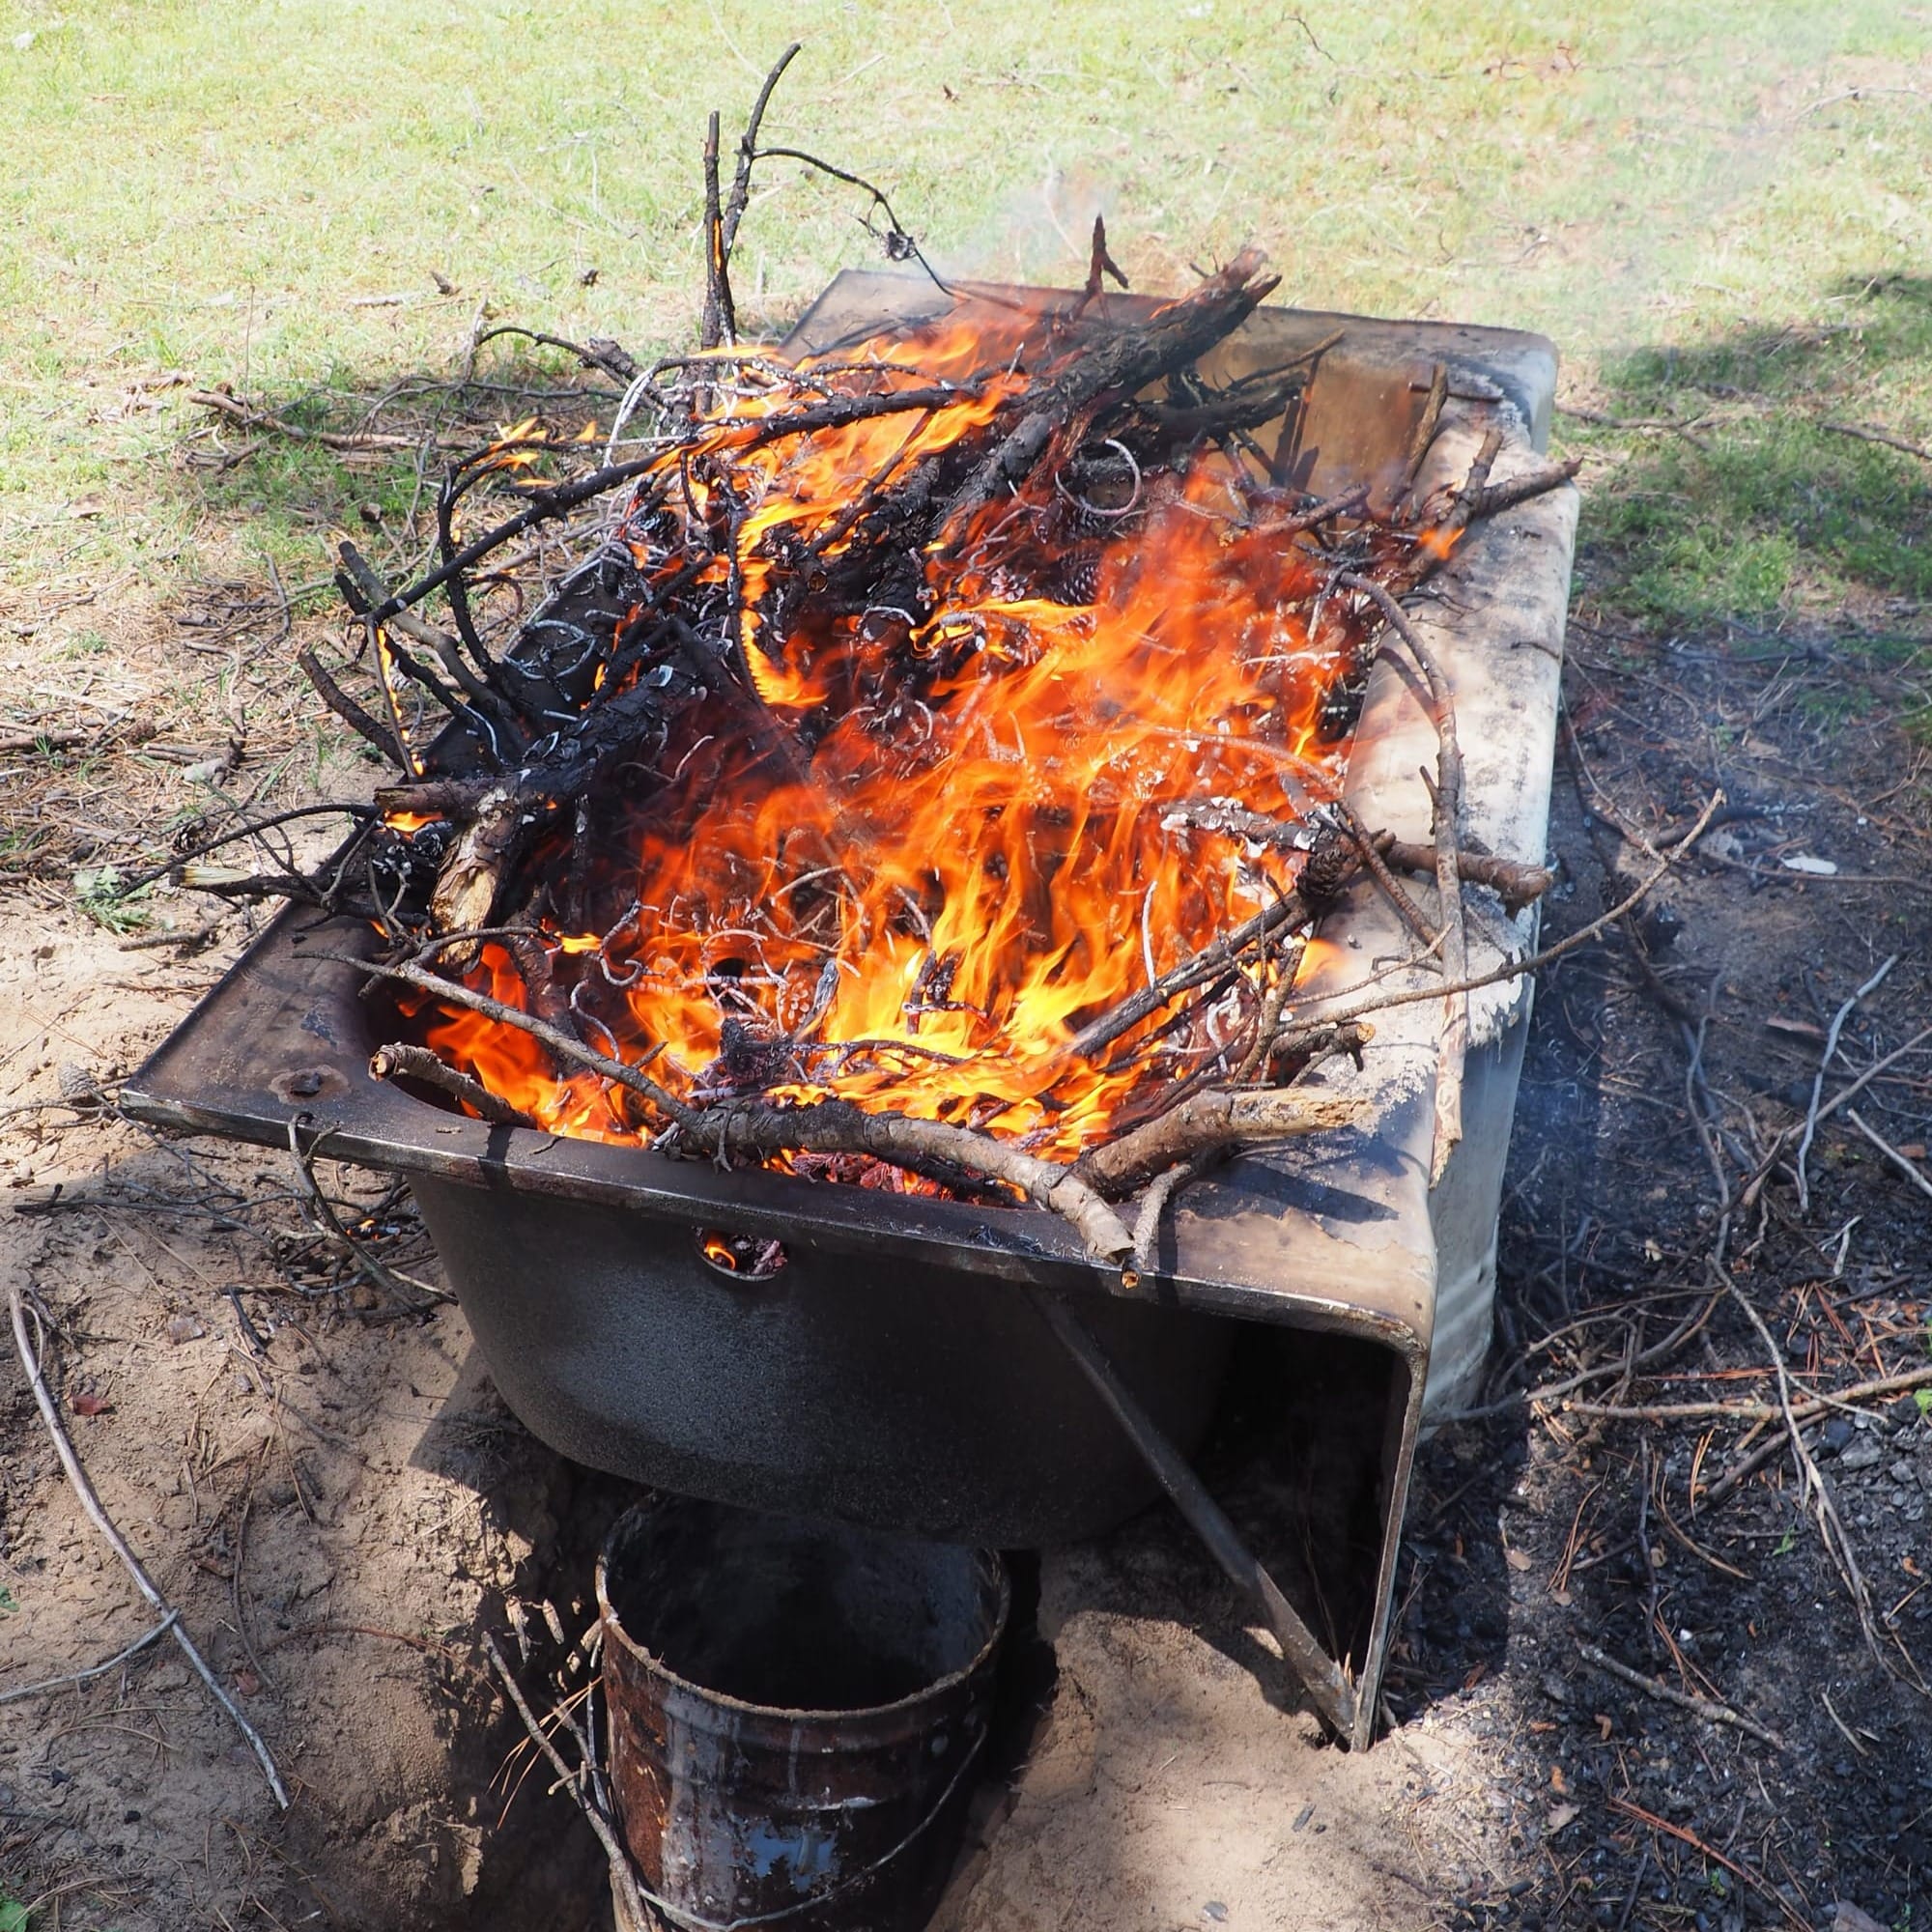
On a chilly Saturday morning I decided it was time to give the bathtub a test run. I was eager to make some biochar and I also wanted to get rid of the large stick pile we had accumulated over the last year.
I stuffed the tub about half way full with sticks and lit it up. I was worried about air coming up through the drain hole and injecting oxygen down low. I solved this by plugging the drain with soil.
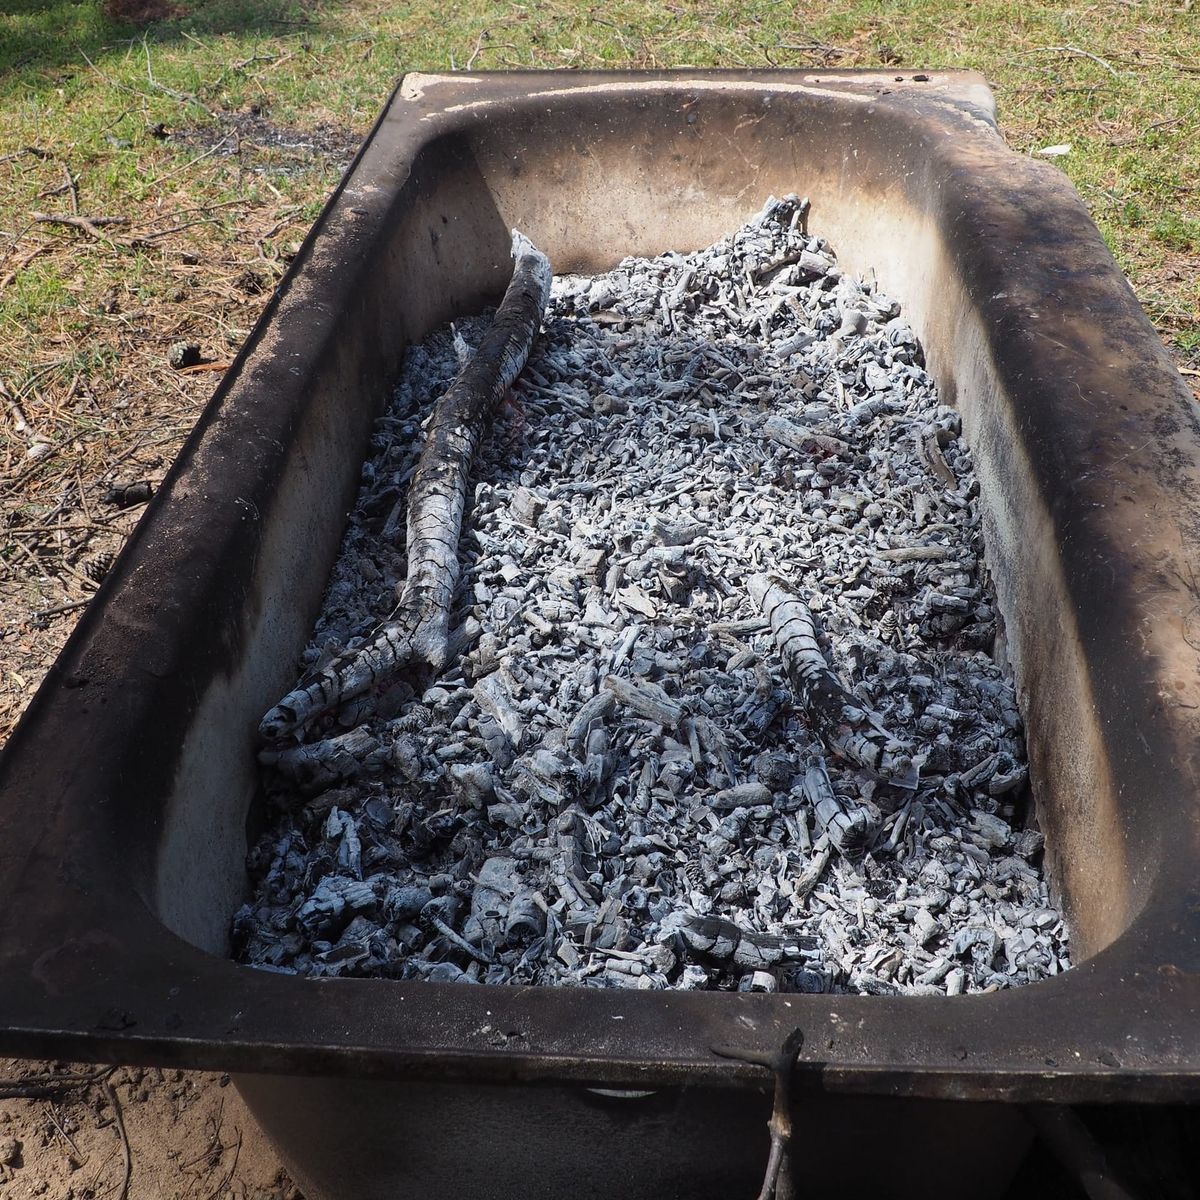
As the wood broke down I added more sticks on top until the tub was about half-way full of coals. Before I put it out with several buckets of water, the kids and I roasted marshmallows over the coals. The kids now love making biochar.
The bathtub worked beautifully. Almost all the wood was completely converted to biochar and I was able to catch the water runoff by placing a bucket under the drain (that water is full of nutrients). I still have a good sized pile of sticks left so I will be using the bathtub kiln a lot in the future.
Lessons Learned and Ideas for Improvement
- Fill the tub with dry sticks before lighting.
- Cast iron and thermal shock do not get along well (ask me how I know). It would be wise to not dump multiple buckets of cold water on the hot coals in rapid succession. Pouring one bucket at a time while waiting a minute or two between buckets allows the tub to cool more slowly and evenly.
Disclaimer
This article is for educational purposes only. Do not try this at home. Cast iron bathtubs are coated in enamel which can crack violently sending shards flying through the air. Always wear proper personal protection equipment like safety glasses and gloves when working with fire. Always have plenty of water on hand to douse the fire should it get out of control.